

โปรแกรมแก้ไขปรับแต่งเกมเก่าอย่าง The sims 2 ให้กันได้กับการ์ดจอในปี 2023
Introducing: Graphics Rules Maker
Fixing your game is simple. Follow these steps to fix your game:
- Download Graphics Rules maker. No Spyware, adware etc! (32-bit version)
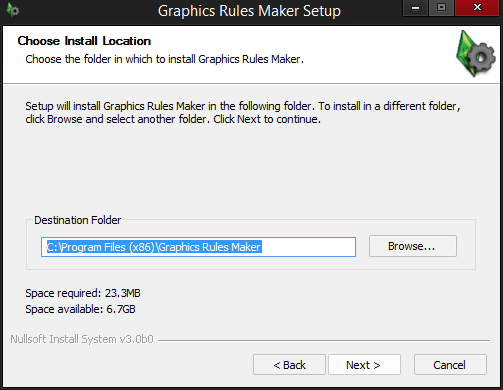
- Run the installer and follow its instructions.
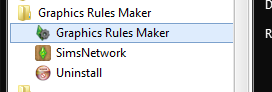
- Start the application from the start menu (or directly from the installer).
- The application will try to locate your game. If it doesn’t work, locate the game installation before continuing, by clicking the Browse button.
- Click the Auto-detect button to get a good selection of tweaks, based on your computer. You can also manually apply the tweaks you want/need. Every tweak has a brief description as tooltip.

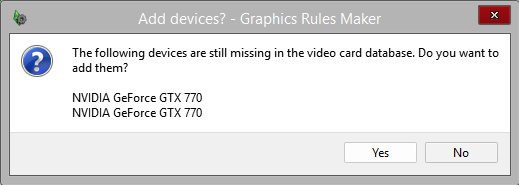
- Save the files. This may ask you to add your graphics card to the game’s database.
- Launch the game and see if everything works as expected.
Graphics Rules Maker (GRM) Setup การตั้งค่า
GRM should be installed to your Program Files if you used the Starter Pack. If you don’t have it or you have an older version, download and install version 2.3.0: 64-bit, 32-bit.
- Run Graphics Rules Maker as Administrator by right-clicking it.
- If you don’t run as Administrator, your changes will NOT apply properly when you save, and you’ll have to manually move the graphics rules files.
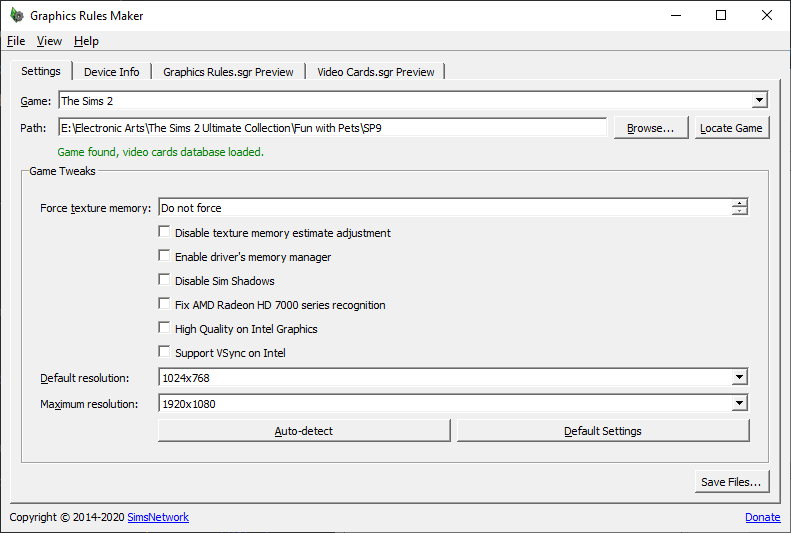
- In the “Game:” dropdown box, select “The Sims 2.”
- Make sure GRM says the game has been successfully located. Sometimes it guesses the game folder wrong – if that happens, browse to your “C:\Program Files (x86)\The Sims 2 Starter Pack” folder as shown in the image below. (If you don’t have the Starter Pack, it’ll usually be under “EA GAMES\The Sims 2.”)
- If you chose a custom path during install, set it to that folder instead.

- Click the “Auto-detect” button to automatically input the correct texture memory and tweaks for your system.

- Uncheck 🚫 “Disable Sim shadows” if it is checked, because we will be using the Sim Shadow Fix.
- Check ✅ “Disable Dirty Rectangle optimizations” if you plan on using ReShade in order to make depth buffer effects work. This option can also resolve cases of transparent flickering graphics in-game (auto-detect should enable it for you in cases where this would happen).
- Set the “Max Resolution” dropdown to match your monitor. It should be the largest resolution on the list.
- Set the “Default Resolution” to the one you want to play at.
- 🛈 The larger you make the resolution, the smaller the in-game UI will appear. You can resolve this by upscaling from a lower resolution with tools such as Magpie.
- Save your changes by clicking “Save files…” at the bottom right.
- Click “Yes” if GRM asks you to add your graphics card(s) to the database.
- If you get an error while saving files, make sure you’ve run the program as administrator and check that your game folder has sufficient permissions. Or, you can follow the prompts to move the files manually.
- To apply these same fixes to The Sims 2 Body Shop, select it from the “Game” dropdown, then once again Auto-Detect, and save.
If you enabled SimNopke’s shadow fix in the Web Installer, it will automatically install to your game’s Downloads folder. If not, download and install it to Downloads to fix the black box issue (not needed if using DXVK).